nimbios_11.04_scanning
Table of Contents
Scanning
Required Reading
TOSHIBA eSTUDIO-453
TODO
A Generic USB-attached Scanner
For the purposes of this tutorial, we will be using the Simple Scan application.
- Connect your scanner to your computer with the USB cable.
- Open the Dash, and type “Scan” into the search bar.
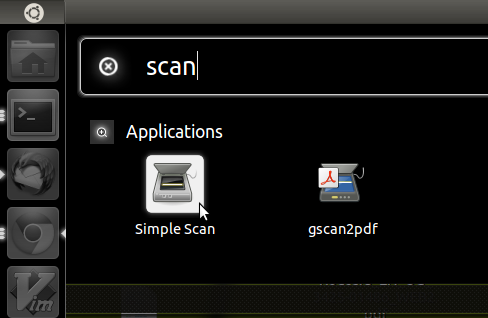
- Click on
Simple Scan - Optional: Set your preferences
- Click:
Document
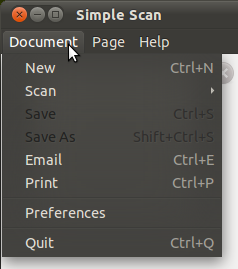
- Click:
Preferences - Check or set your desired settings. Most importantly, be sure to take note of the DPI (dots per inch) setting used for both text scanning and photo scanning.
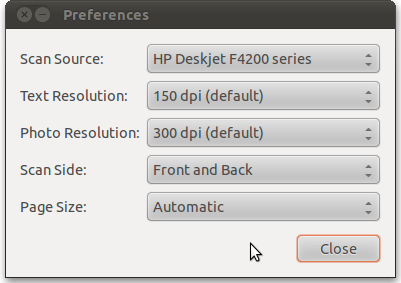
- Click:
Close
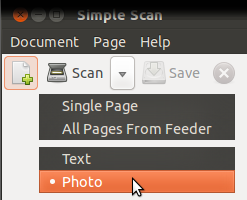
- From the toolbar, click on the drop-down menu next to the
Scanbutton, and select your preferred resolution for this job: Text or Photo
- Position your document on the scanner, and click:
Scan
After a moment, an image should appear with your scanned document. - Click:
Save


Character Recognition
For the purposes of this tutorial, we will be using the OCRFeeder application.
- Open the Dash, and type “OCR” into the search bar.
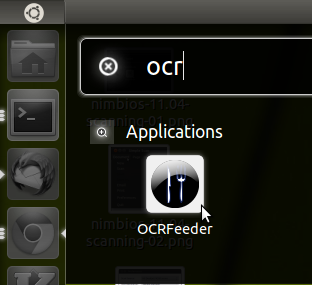
- Click:
OCRFeeder - Optional: Set your preferences
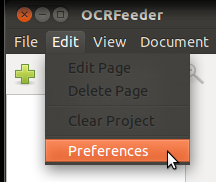
- Click:
Edit - Click:
Preferences
- Character recognition is not actually performed by the OCRFeeder program. OCRFeeder is merely a pretty GUI interface that allows a user to easily use his or her choice of other programs. So among any other setting changes that you decide to make, be sure to choose your favorite character recognition program:
- Click on the
Toolstab
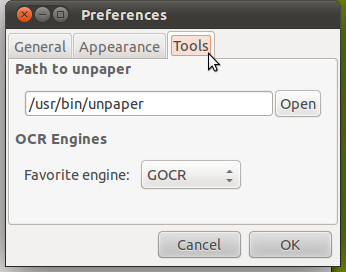
- Select your preferred OCR engine for
Favorite engine

(Tesseract is said to be more accurate.)
- Add an image to be processed by clicking the “+” button
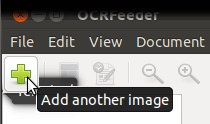
From the file browser window that appears, select your image file - Repeat for any other images that you want to process
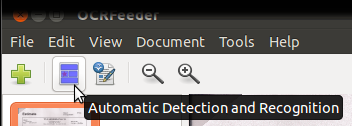
- Click:
Automatic Detection and Recognition
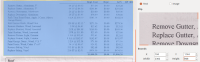
A set of green and blue rectangles will appear over the image. The green rectangles denote what OCRFeeder thinks are photos in the document, and the blue rectangles denote what OCRFeeder thinks are text. This will likely be terribly wrong! But that's okay, because we're going to tell OCRFeeder exactly what we want. - In the panel on the right, click on the
Textradio button

Any green rectangle should disappear from the image, leaving only the blue rectangle. - Using the boundary box settings, position the blue rectangle over the region that you want to convert into text. You can accomplish through any combination of (a) moving the blue rectangle with the mouse, (b) changing the numbers in the boundary box settings, and/or © clicking the up or down buttons next to the boundary box settings.
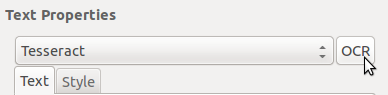
- When you have the desired section bounded by the blue square, click:
OCR
- The image will be processed by the OCR recognition system, and the recognized text will appear in the text box just below the
OCRbutton:
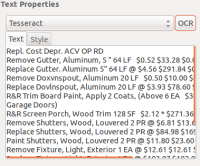
- You can now copy-and-paste this text into another program


Disclaimer
- NIMBioS IT staff will not take responsibility for your personal machine. The reader is expected to know how to administrate his or her own machine.
- The documentation above is merely for guidance. Menus, options, and commands presented may not match the reader's particular operating system, software, or versions.
- None of these documents have a brain. Readers are expected to provide their own.
nimbios_11.04_scanning.txt · Last modified: 2014/05/27 16:26 by peek
Except where otherwise noted, content on this wiki is licensed under the following license: CC Attribution-Share Alike 4.0 International
