Table of Contents
Disk Information
Handy commands:
- lsblk – Lists all attached drives, including partitions
Ex:lsblk
- udevadm – Gives detailed information about a drive
Ex:udevadm info --query=all --name=/dev/sd<X> | grep ID_SERIAL_SHORT
Disk Testing
Handy Commands:
- Checking a drive's SMART attributes:
- GUI:
- Install gnome-disk-utility (If not already installed)
apt-get install gnome-disk-utility
- Run:
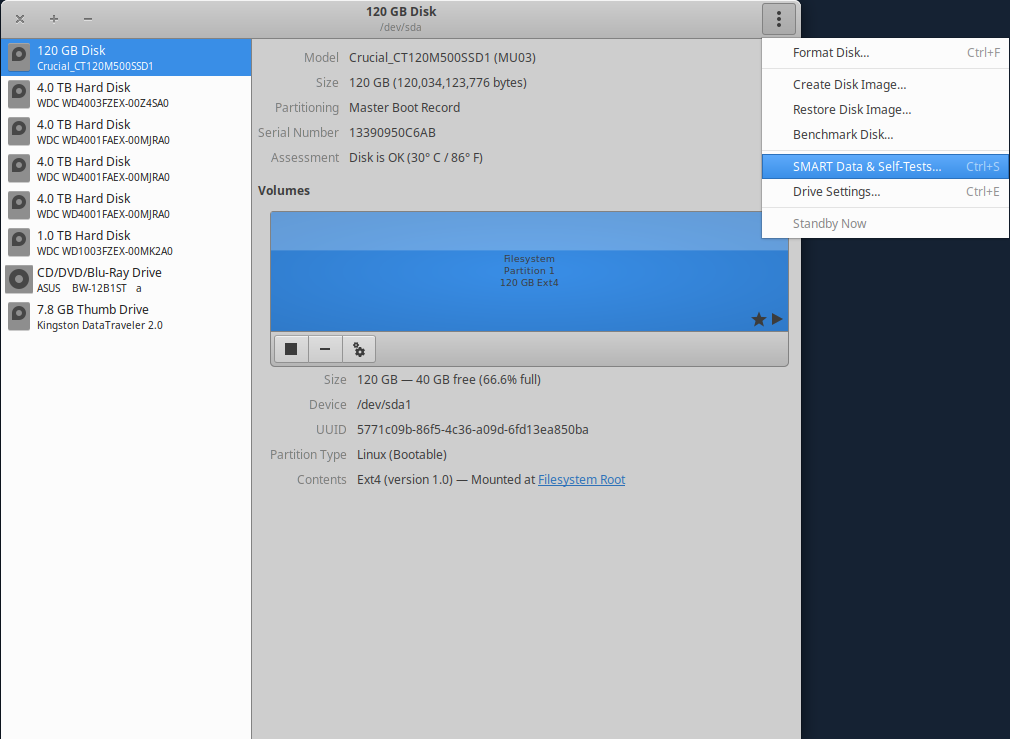
gnome-disks
- Select your drive and then select the menu button in the top-right corner:
- Command Line:
- Install smartmontools
apt-get install smartmontools
- Overall health report:
smartctl -H /dev/sd<X>
- Detailed SMART information:
smartctl -i /dev/sd<X>
- Running SMART tests (non-destructive to data)
- GUI:
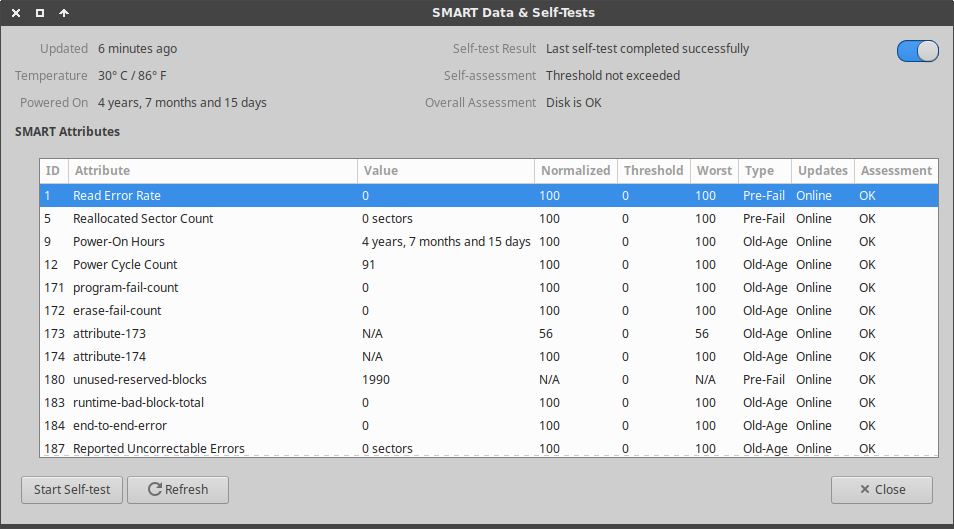
gnome-disks
Open “SMART Data & Self-Tests”, click “Start Self-Test”, and select a test to run. - Command Line:
smartctl --test=short /dev/sd<X>
smartctl --test=long /dev/sd<X>
- Thoroughly Testing Drive Media (CAUTION: DESTRUCTIVE TO DATA)
badblocks -vws /dev/sd<X>


Data Recovery
If the hardware is suspect, then the first thing to do is get a byte-for-byte copy of the drive's contents into a disk image file. The less time spent using possibly faulty hardware the better. For this, use ddrescue instead of dd, as ddrescue will repeatedly try to recover from errors as it tried to salvage data, whereas dd will simply fail.
apt-get install gddrescue
ddrescue -A -f /dev/sd<X> broken.img
This copy will remain unchanged while we work. Make a copy of this file, and only alter the copy. This way, if anything goes awry then we can go back to square one without having to rely on possibly faulty hardware again.
cp broken.img work.img
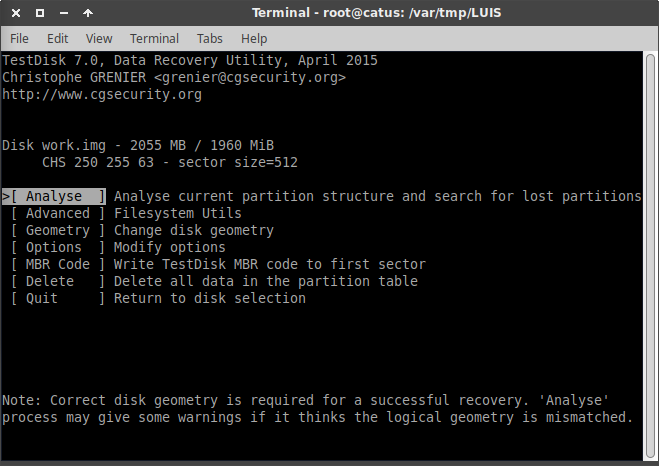
Use testdisk to search for and repair disk partitions.
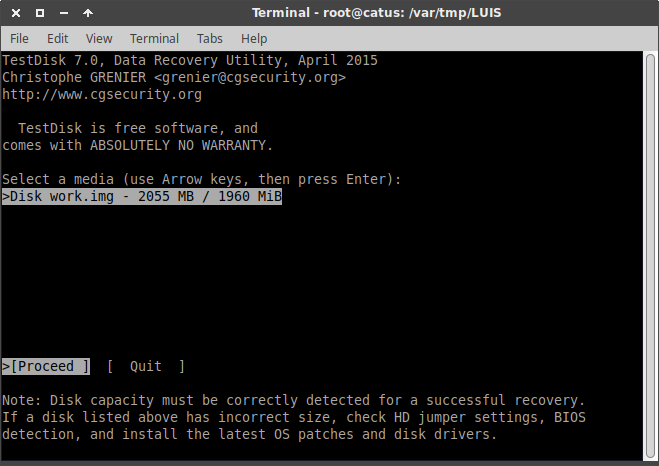
apt-get install testdisk
testdisk work.img
Using testdisk involves using the arrow, escape, and enter keys.
- Confirm that you want to use the disk image work.img, click “Proceed”
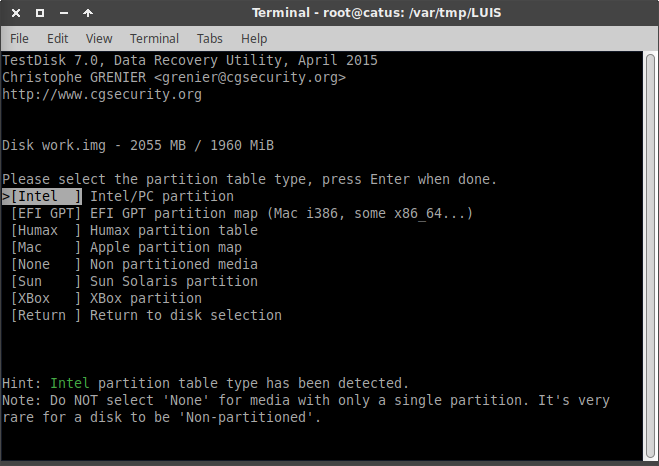
- Select the disk image partition table type. Ex: Intel
- Click: Analyse
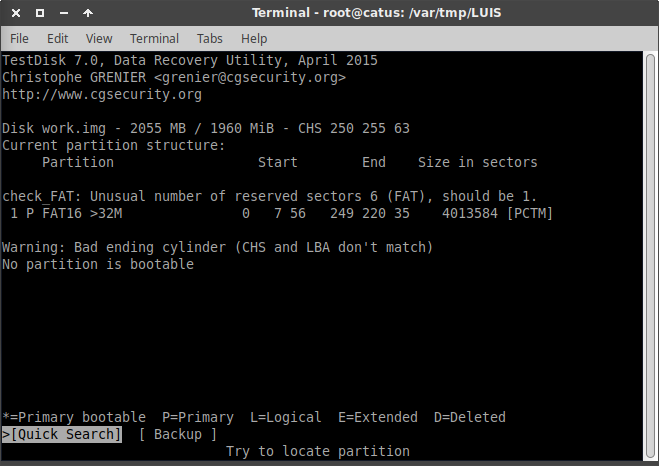
- Click: Quick Search
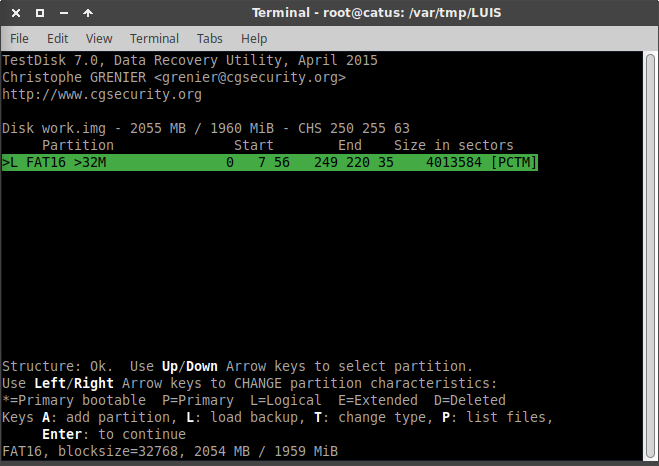
- Click: Enter to continue
- Click: Deeper Search
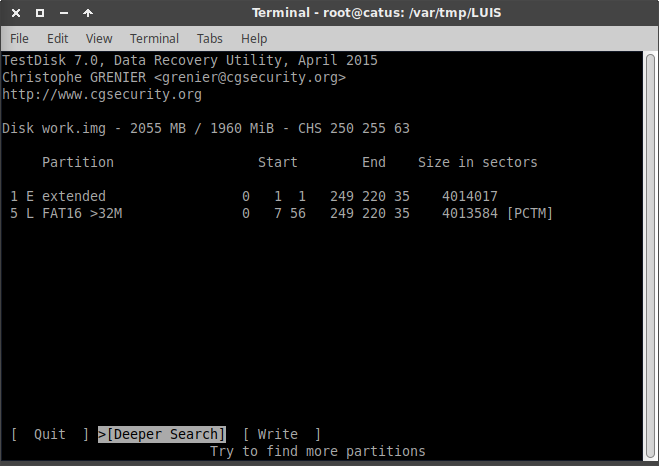
- Click: Enter to continue

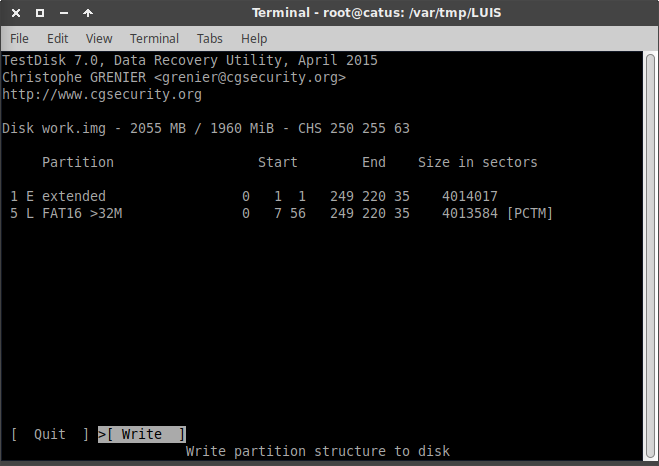
- Click: Write
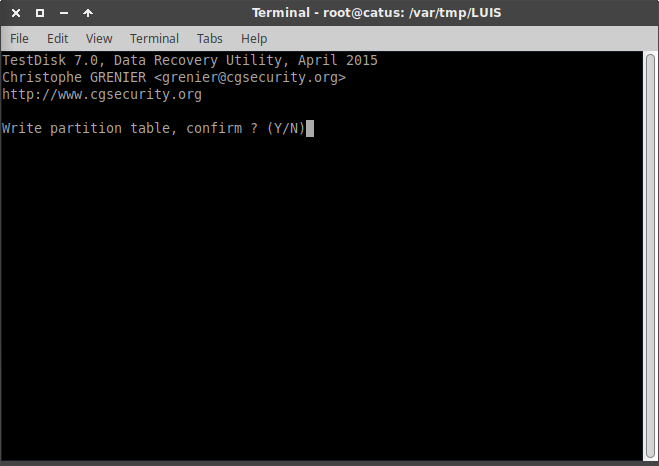
- Click: Y
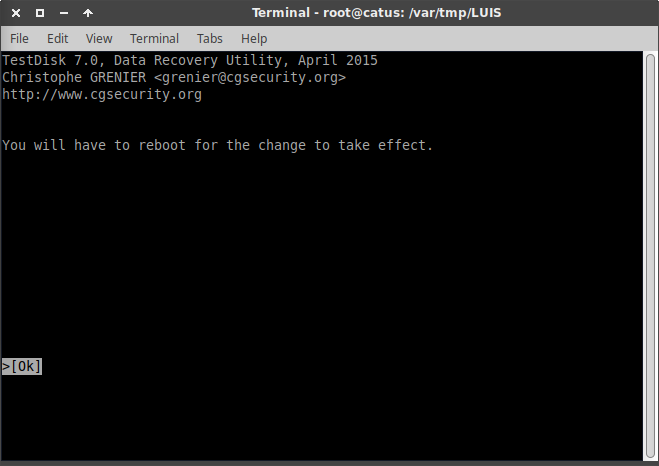
- Click: OK (You do not need to reboot)
- Click: Quit
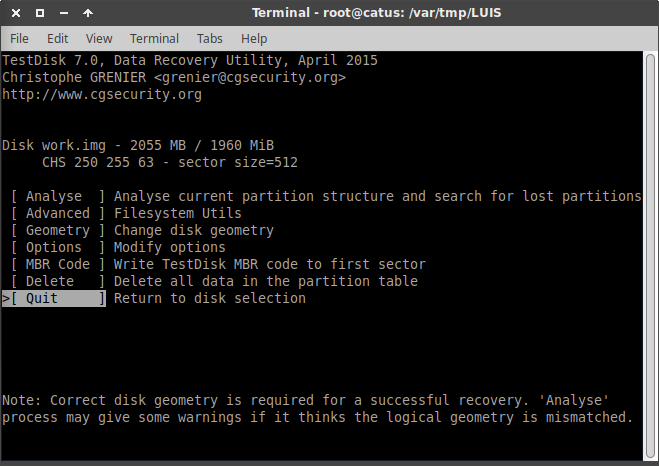
- Click: Quit


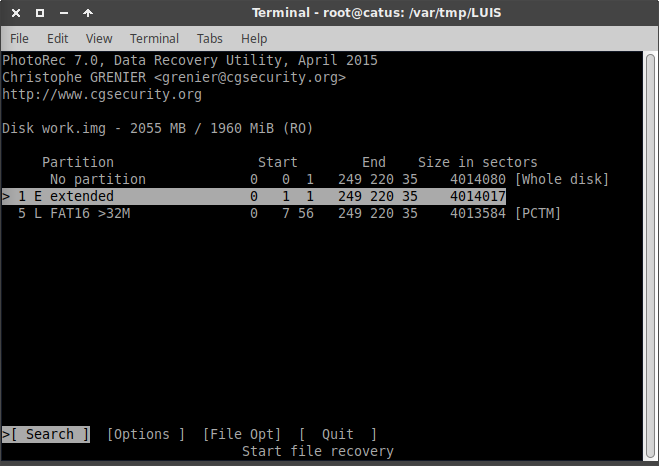
Use photorec to recover deleted files.
mkdir RECOVERY RECOVERY/DELETED RECOVERY/RECOVERED
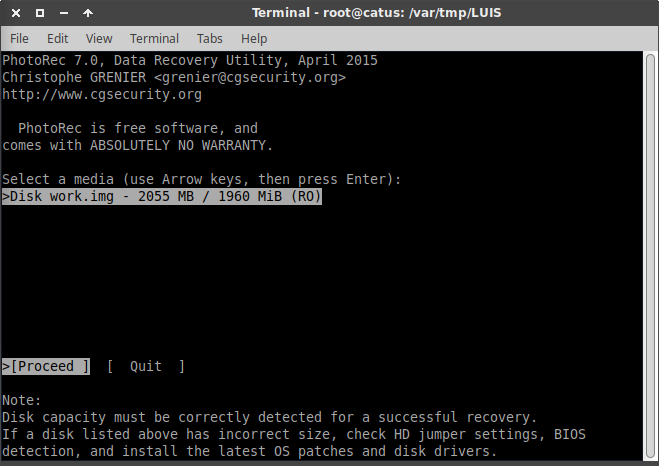
photorec work.img
- Confirm that you want to use the disk image work.img, click “Proceed”

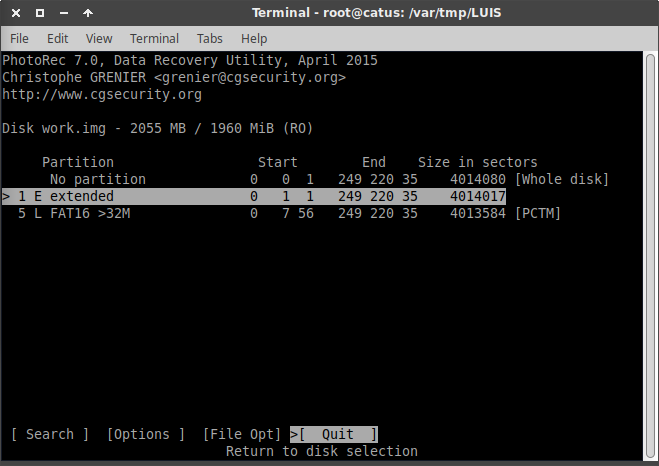
- Select partition, click: Search
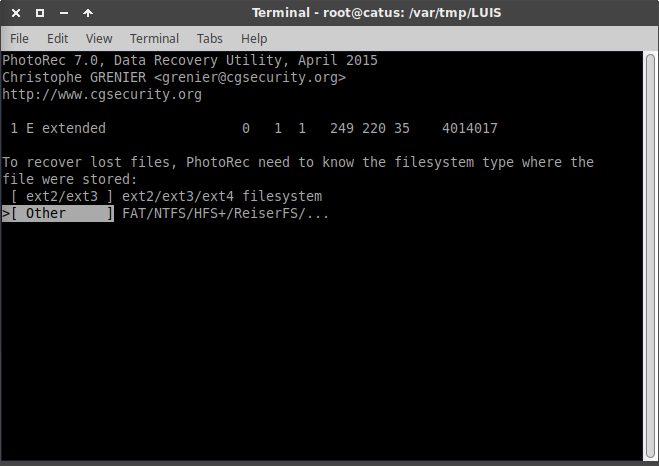
- Select the filesystem type
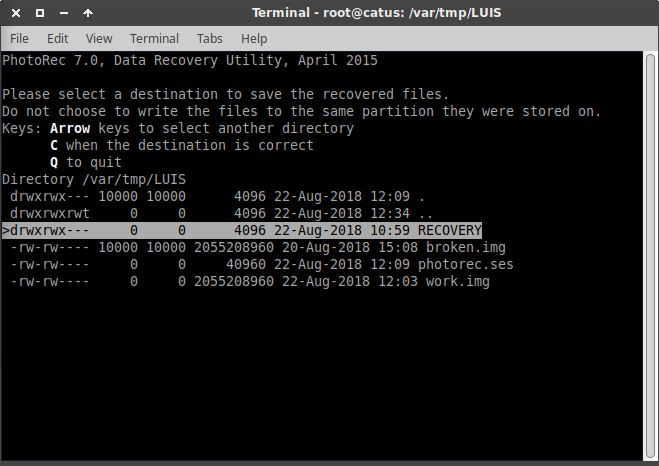
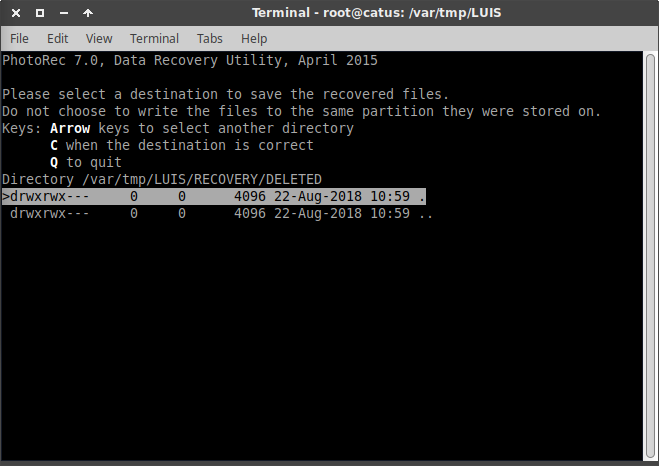
- Select directory to save recovered files.
- Select: RECOVERY
- Select: DELETED
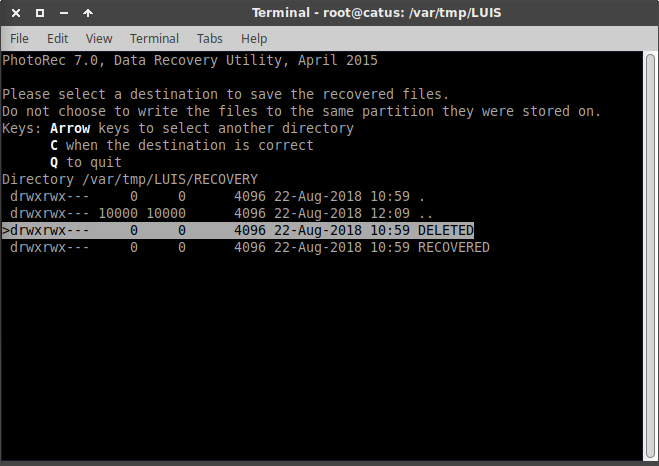
- Press: C
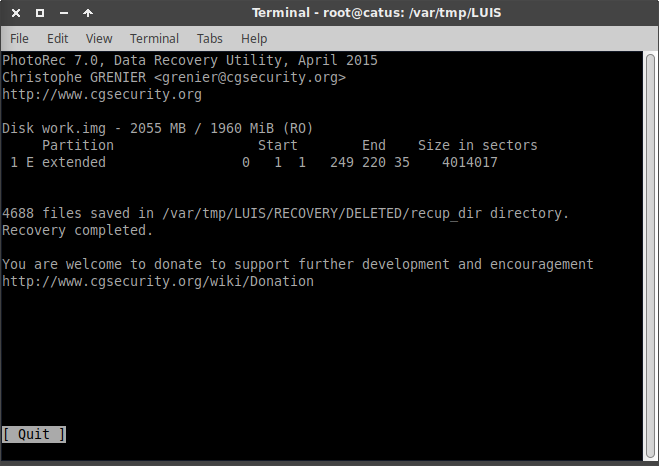
- photorec will process for a while. When finished, select: Quit
- Select: Quit
- Select: Quit


Files that the filesystem thinks have been deleted are now stored in RECOVERY/DELETED/. Filenames are most likely trashed, so the only way to identify a file is to open it up.
Recover other files:
- Find a list of partitions:
fdisk -lu work.img
Disk work.img: 1.9 GiB, 2055208960 bytes, 4014080 sectors
Units: sectors of 1 * 512 = 512 bytes
Sector size (logical/physical): 512 bytes / 512 bytes
I/O size (minimum/optimal): 512 bytes / 512 bytes
Disklabel type: dos
Disk identifier: 0x00000000

Device     Boot Start     End Sectors  Size Id Type
work.img1          63 4014079 4014017  1.9G  5 Extended
work.img5         496 4014079 4013584  1.9G  6 FAT16
- Find the offset from the beginning of the disk image file to the partition that you want to work with:
OFFSET = SECTOR-SIZE * START = 512 * 496 = 253952
- Attach the partition to a loopback device:
losetup -o 253952 /dev/loop0 work.img
- Attempt to fix the partition:
fsck -y /dev/loop0 2>&1 | tee fsck.log
- Mount the fixed partition read-only:
mount -o ro /dev/loop0 /mnt
- Copy files into
RECOVERY/RECOVERED:
cd RECOVERY/RECOVERED ; (cd / && tar -cvf - mnt) | tar -xvBpf - 2>&1 | tee ../tar.log
- Optional: Get a list of files for which tar failed:
grep ^tar: ../tar.log
- Optional: Find a list of files of size 0 bytes:
find . -size 0 -ls 2>&1 | tee ../zero-size.log
- Unmount the filesystem:
umount /mnt
- Detach the loopback file:
losetup -d /dev/loop0
Final contents of RECOVERY directory:
RECOVERY/DELETED– Files recovered that the filesystem previously thought had been deleted.RECOVERY/RECOVERED– Files that could be copies off of the disk image. Some files may be corrupt though.- fsck.log – A log of all the changes that fsck made while fixing the filesystem.
- tar.log – A log of all the files copied from the disk image into
RECOVERY/RECOVERED. Any files that could not be copied are listed here and may be found withgrep ^tar: log.tar. - zero-size.log – A log of all the files in
RECOVERY/RECOVEREDthat are empty.